Migrate your Bluesky account to another PDS

A few people have asked me how to migrate their existing Bluesky account to their PDS, including accounts created on the default bsky.social service. I did some research and found the process relatively straight-forward. It requires the use of a command line tool called Goat and can be done from your PDS or another computer that can run the tool (Linux or macOS.) Official documentation for Goat can be found here. Additionally I referenced this handy guide by @bnewbold.net.
Prerequisites and assumptions
- Have an existing account you want to migrate. It could be hosted on bsky.social or elsewhere
- Have your own PDS setup and running to migrate the account to. See my guide here if you haven't done this yet
- Be comfortable with the command line
- Be using a Linux or macOS computer, or be able to access the command line console on your PDS. For this guide, I will be using commands that function on DigitalOcean's droplet console which runs Ubuntu 22.04 as it's operating system
Install Go and Goat
To begin, we need to install the open-source Go programming language. Goat requires Go version 1.22 or greater. From the command line, type the following to download the correct version of Go:
wget https://go.dev/dl/go1.22.6.linux-amd64.tar.gzNow let's extract it into our /usr/local/ directory using this command:
sudo tar -C /usr/local -xvf go1.22.6.linux-amd64.tar.gzOnce extraction is complete, let's add Go to our bash system path:
echo "export PATH=$PATH:/usr/local/go/bin" >> ~/.profile
source ~/.profile
Now, let's verify it's all working by requesting the Go version:
go versionIf you are greeted with go version go1.22.6 linux/amd64 then you have successfully installed it. Now we are ready to download Goat. Type the following command:
go install github.com/bluesky-social/indigo/cmd/goat@latestIt may take a minute to download and install. Mine did not show any progress, just left me back at the command prompt. Once complete, let's add Goat to our system path for easy access:
echo "export PATH=$PATH:$HOME/go/bin" >> ~/.profile
source ~/.profile
Finally, let's verify Goat is installed correctly and functioning by requesting it's version:
goat --versionIf installed correctly, you will be greeted with goat version v.0.0.0... etc.
Prepare for migration
Now we need to login to our existing/old Bluesky account using our handle and password using Goat. Type the following command, replacing $OLDHANDLE and $OLDPASSWORD with your own account details:
goat account login -u $OLDHANDLE -p $OLDPASSWORDNext we need to request a 2-factor authentication code from Bluesky to prepare to migrate our PLC identity to a new PDS. This code is delivered to the email associated with your account. Type the following command to request the code:
goat account plc request-tokenRetrieve the code from your email inbox and copy it to a text document. We will need it momentarily. Now we need to generate an invite code from our new PDS which will authorize the transfer. On our PDS console, type the following command to generate an invite token:
pdsadmin create-invite-codeThe token will be displayed. Copy this token to our text document for the next step.
Migrate existing account to your PDS
Here is the all-in-one command for migration. Replace the $VARIABLES with your values and then paste the entire command into the console.
goat account migrate \
    --pds-host $NEWPDSHOST \
    --new-handle $NEWHANDLE \
    --new-password $NEWPASSWORD \
    --new-email $NEWEMAIL \
    --plc-token $NEWPLCTOKEN \
    --invite-code $INVITECODE
Here is what my command looked like with my account specifics added:
goat account migrate \
    --pds-host https://blueskydemo.hyprlab.co \
    --new-handle jasondemo.blueskydemo.hyprlab.co \
    --new-password tPVQ9oRLwfAqq7gz \
    --new-email [email protected] \
    --plc-token QUCDK-SHTBV \
    --invite-code blueskydemo-hyprlab-co-lz3di-wlsvy
Be sure to include the https:// in front of your PDS' domain name otherwise this will not work
If you encounter any error during this process, you will need to manually delete the failed migration from your PDS before making another attempt. First use this command from your PDS command line to list accounts on your system. This will display account handles and their associated DID number strings. Copy the DID string for the account you wish to delete
pdsadmin account listThen use this command to delete it, replacing $YOURDID with your own DID string:
pdsadmin account delete $YOURDIDI did encounter an error at the very end of the migration stating error: failed deactivating old host: XRPC ERROR 401: BadJwtSignature: jwt signature does not match jwt issuer but I was still able to login to my new account on my PDS and everything was transferred. In this instance, I logged back into my old account on Bluesky's provider and deactivated it.
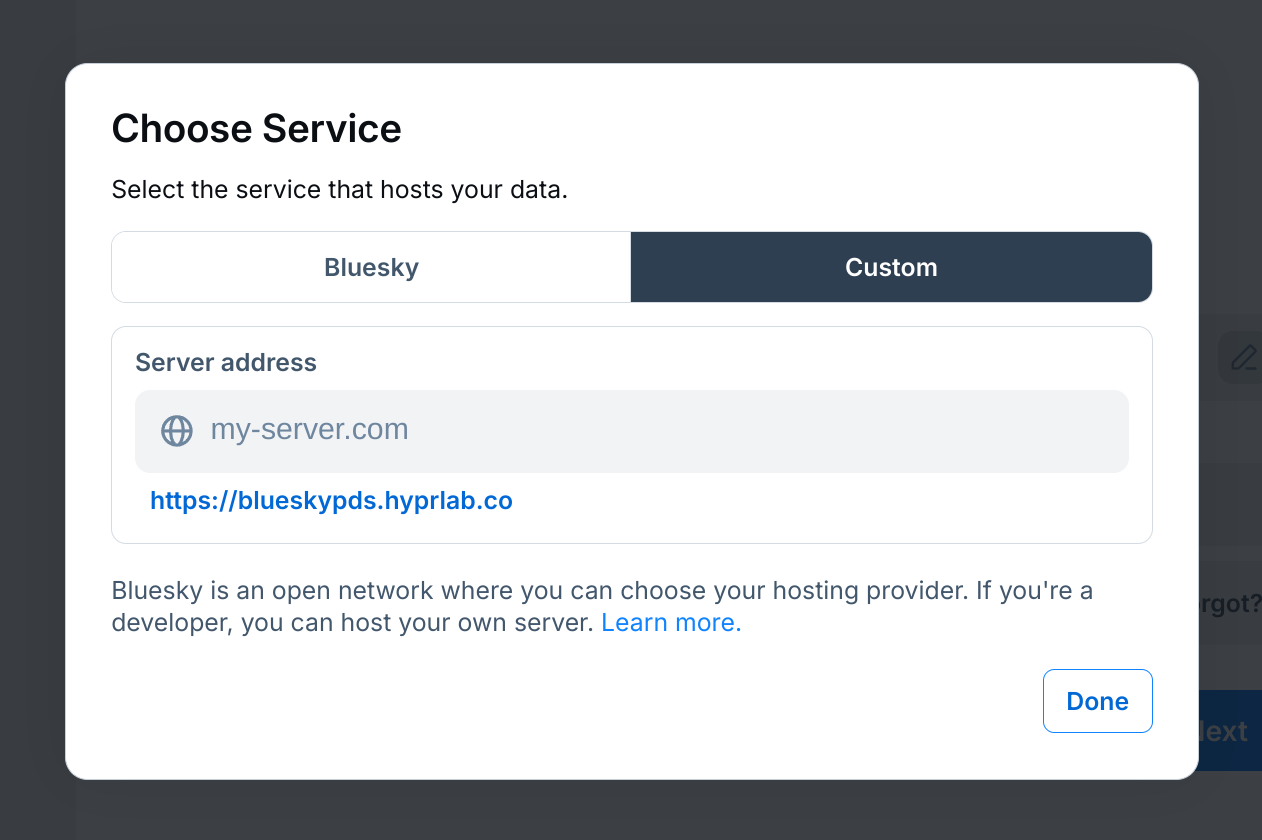
If everything goes well, your account will migrate all content and data to your PDS. You will now need to login on bsky.app to your PDS instead of the default service. To do that, navigate to Settings on bsky.app and click Sign out. Click Sign in > Other account > under Hosting provider select Custom and enter in your domain name where your PDS is housed.

Sign in with the handle and password you specified during migration and if successful, you will be greeted with your account along with all it's content.
Final thoughts
The Bluesky platform is rapidly growing and some of the processes outlined here are bound to depreciate over time. I will continue to update this guide as best I can but always refer to the official documentation and connect to the AT Protocol PDS Admin Discord for the most up-to-date information.
As always, reach out to me on Bluesky @hyprlab.co if you have any questions. I am learning Bluesky and the ATprotocol along with you so I look forward to making connections and helping others lead a more equitable, decentralized life online.


